
Introduction
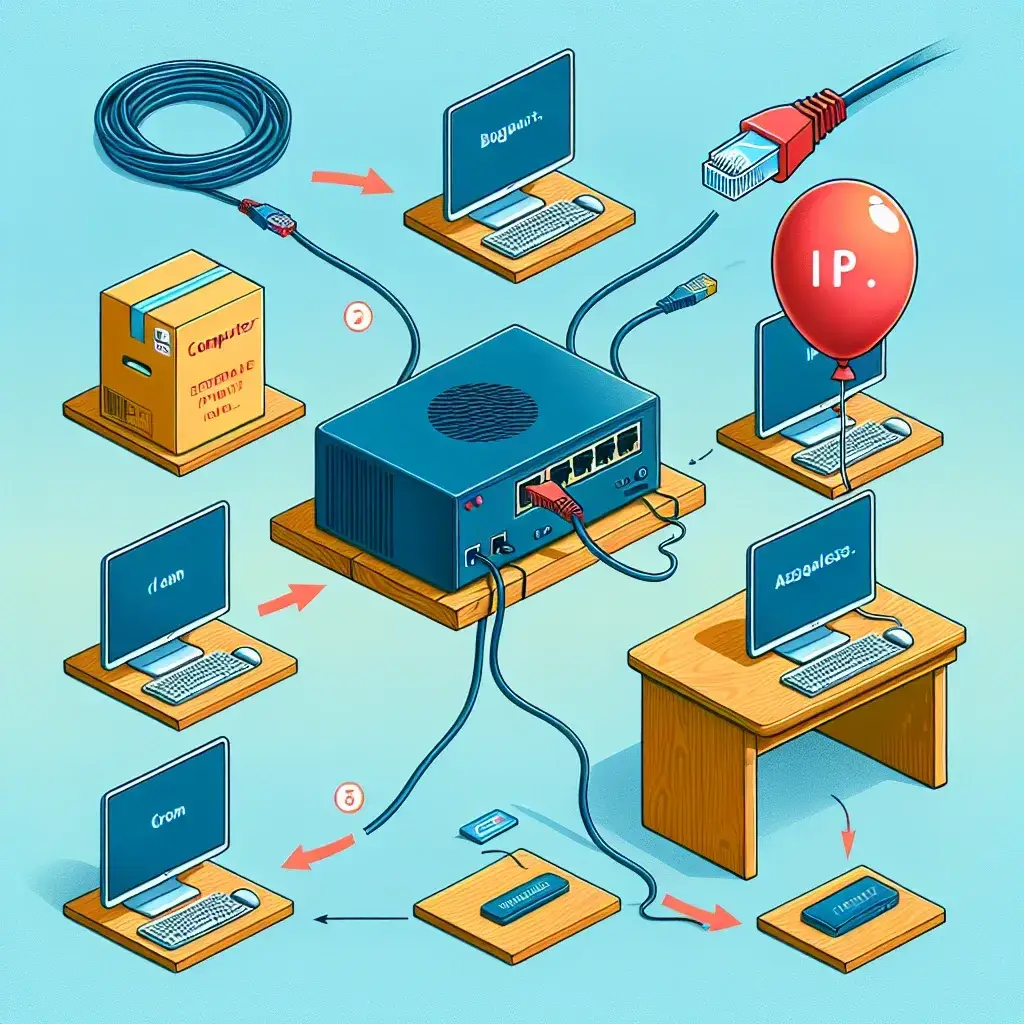
Assigning an IP address to your machine is essential for connecting to a network and accessing the internet. Whether you’re configuring a new machine or troubleshooting network issues, understanding the steps involved in assigning an IP address is crucial.
Step 1: Access Network Settings
The first step is to access the network settings on your machine. This can typically be done by navigating to the control panel or system preferences, depending on your operating system.
Step 2: Select Network Connections
Once you’ve accessed the network settings, locate and click on the “network connections” or “network settings” option. This will bring up a list of available network connections.
Step 3: Choose the Network Interface
Identify the network interface that you want to assign an IP address to. It could be Ethernet, Wi-Fi, or any other available connection. Right-click on the interface and select “Properties” or “Configure.”
Step 4: Configure IP Settings
In the interface properties, find the “IP settings” or “TCP/IP” tab. Here, you can manually configure the IP address, subnet mask, default gateway, and DNS server addresses.
Step 5: Choose Manual IP Configuration
By default, the IP settings are usually set to obtain an IP address automatically through DHCP. To assign a specific IP address to your machine, select the option for manual IP configuration.
Step 6: Enter the IP Address
Once you’ve chosen manual IP configuration, enter the desired IP address in the corresponding fields. Ensure that the IP address is within the acceptable range for your network.
Step 7: Enter Subnet Mask and Gateway
In addition to the IP address, you’ll need to enter the subnet mask and default gateway values. These can usually be obtained from your network administrator or internet service provider.
Step 8: Configure DNS Server
Lastly, configure the DNS server addresses. These can also be provided by your network administrator or ISP. You may need to enter primary and secondary DNS server addresses.
Step 9: Save and Apply Changes
Once you’ve entered all the necessary information, click “Save” or “Apply” to apply the changes. Your machine will now be configured with the assigned IP address.
Conclusion
Assigning an IP address to your machine is a straightforward process but requires attention to detail. Following these step-by-step instructions will help you successfully assign an IP address to your machine and ensure seamless network connectivity.